Airy Japanese Cotton Cheesecake Cupcakes Recipe to Bake
Fluffy Japanese cotton cheesecake cupcakes are one of those baked treats that feel impossibly light yet deeply satisfying at the same time.
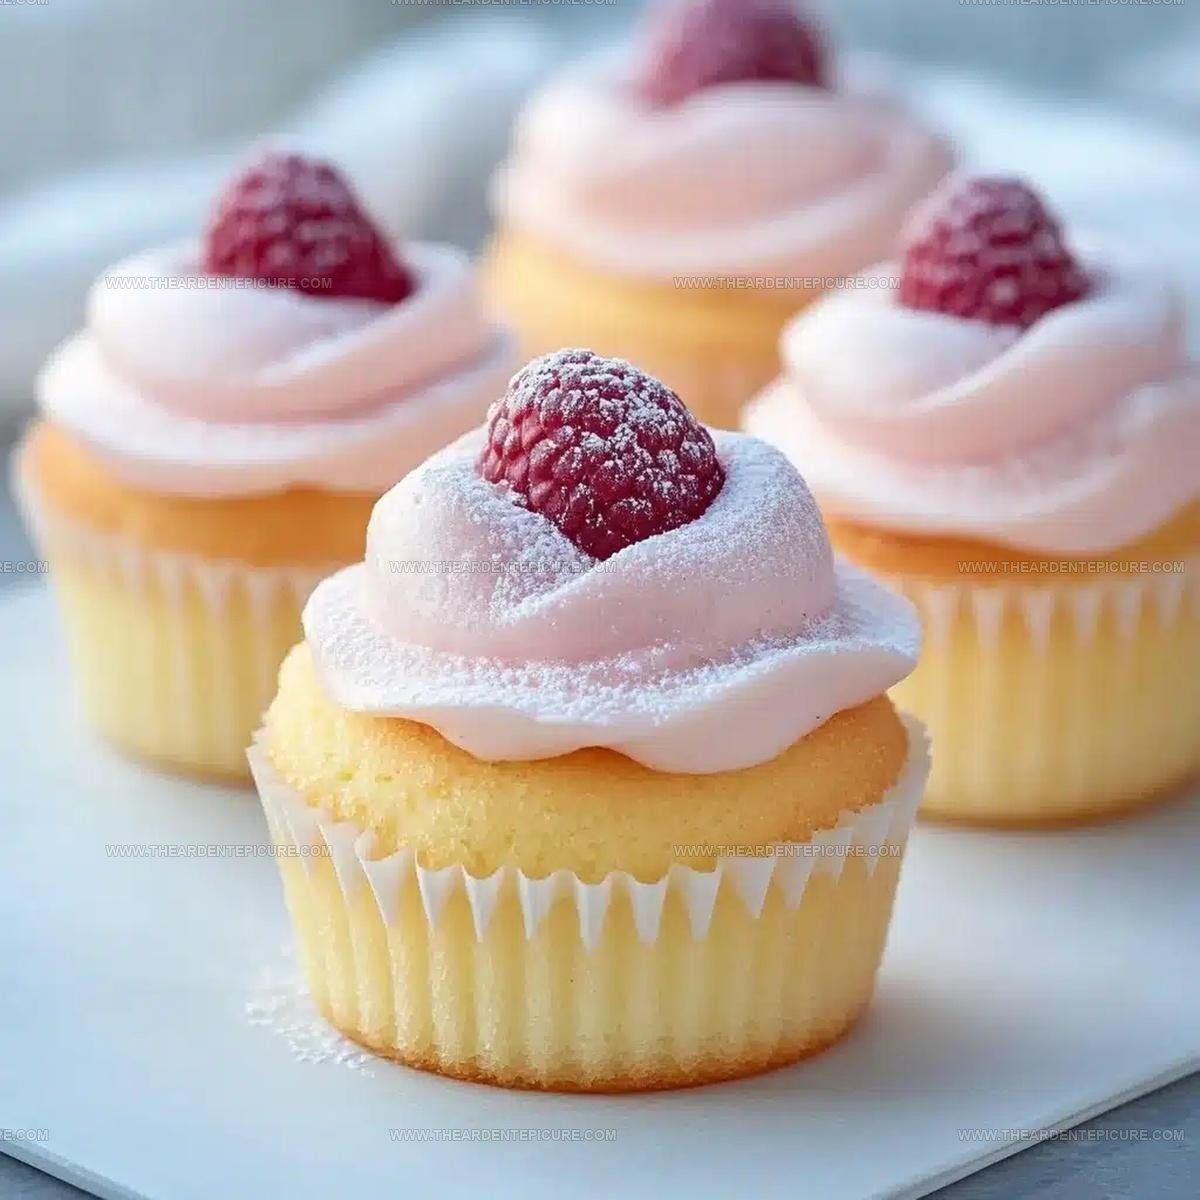
Soft, cloud-like texture makes every bite feel almost weightless, which is a big part of why so many people fall in love with them on the first taste.
Japanese baking has a special way of turning simple desserts into something that feels both delicate and comforting, and this recipe captures exactly that spirit.
For anyone who loves classic cheesecake but prefers something a little more airy and refined, cupcake form adds a charming, portioned twist to the whole experience.
Something about the individual size makes them feel a bit more personal and celebratory, perfect for casual afternoons or special occasions alike.
You can serve them at a gathering or enjoy one quietly with a warm cup of tea, either way, the result is genuinely impressive.
What Makes Japanese Cotton Cheesecake Cupcakes So Distinct
What Ingredients Form Base of Japanese Cotton Cheesecake Cupcakes
Wet Ingredients:Dry Ingredients:Topping:What Tools Are Used for Japanese Cotton Cheesecake Cupcakes
Detailed Directions For Making Japanese Cotton Cheesecake Cupcakes
Heat Your Oven
Get your oven warming to 325°F (160°C) right now so it reaches the right temperature by the time your batter is ready. Line a standard muffin tin with cupcake liners and set it aside for later.
Combine Cream Cheese And Sugar
In a large mixing bowl, blend together:
Use an electric mixer to beat these until the texture turns smooth and creamy, taking about 2 to 3 minutes total.
Add The Wet Components
Keep the mixer running and gradually pour in ¼ cup whole milk, then add the 2 egg yolks one at a time, making sure each one gets fully mixed in before adding the next.
Finish by pouring in 1 tsp vanilla extract and mix everything together until no streaks remain.
Prepare The Dry Mix
In a separate small bowl, combine these ingredients together:
Slowly add this flour mixture into your wet ingredients, stirring by hand with a spatula until the batter becomes smooth and no lumps of flour are visible.
Whip The Egg Whites
Take a clean mixing bowl and add your 2 egg whites. Using an electric mixer on high speed, beat them for about 3 to 4 minutes until stiff peaks form and the whites hold their shape when the beaters are lifted out.
Fold Everything Together
Pour the whipped egg whites into your cheesecake mixture. Using a rubber spatula, gently fold them in by cutting down through the center, sweeping along the bottom, and folding up and over the top in a slow circular motion.
Rotate the bowl as needed and continue until no white streaks are visible but the batter still looks light and airy.
Fill The Liners
Spoon the batter into each cupcake liner until it reaches about three-quarters of the way up the sides.
This leaves room for the cupcakes to rise without overflowing.
Bake The Cupcakes
Place your muffin tin into the preheated 325°F (160°C) oven and bake for 25 to 30 minutes.
The tops should turn light golden brown and the centers should spring back when touched lightly with your finger.
Cool In The Tin
Remove the tin from the oven and let the cupcakes sit inside for about 10 minutes.
This resting period helps them settle and become less fragile when transferred.
Transfer To A Rack
Carefully turn each cupcake out of its liner and place it on a wire cooling rack.
Leave them there until they reach room temperature, which takes about 1 to 2 hours.
Add The Finishing Touch
Once completely cooled, dust the tops with powdered sugar if that’s something your family enjoys, then serve these right away or store them in an airtight container.
Easy Cooking Tips For Cotton Cheesecake Cupcakes
Mix And Match Ideas For Cotton Cheesecake Cupcakes
What Are Good Pairings For Japanese Cotton Cheesecake Cupcakes
Simple Storage Guide For Japanese Cotton Cheesecake Cupcakes
FAQs
Why do I need to whip the egg whites separately?
Whipping the egg whites creates tiny air bubbles that make your cupcakes fluffy and light. When you fold them in gently at the end, those bubbles stay put and give you that signature cotton cake texture that makes these cupcakes so special.
What happens if my cream cheese isn’t soft enough?
Cold cream cheese won’t mix smoothly with the sugar, leaving lumps in your batter. Take your cream cheese out of the fridge about 30 minutes before baking so it softens naturally. This ensures a creamy, lump-free base for your cupcakes.
Can I use a different flour for this recipe?
All-purpose flour works best because it has the right protein balance for these cupcakes. Other flours like cake flour or whole wheat will change how your cupcakes rise and feel, so stick with all-purpose if you want the fluffy result.
Why is the oven temperature set so low?
The lower temperature of 325°F bakes these delicate cupcakes gently and evenly without browning the tops too quickly. This gives the centers time to cook through while keeping them soft and moist inside.

Fluffy Japanese Cotton Cheesecake Cupcakes Recipe
- Total Time: 45-50 minutes
- Yield: 6 1x
Description
Fluffy Japanese cotton cheesecake cupcakes bring together the light, airy texture of a sponge cake with creamy cheesecake filling that makes each bite feel like biting into a cloud. These cupcakes are surprisingly simple to make at home, and once you master the technique of folding egg whites, you can whip up a batch that impresses everyone at your table.
Ingredients
Base ingredients:
- 8 ounces cream cheese, softened
- 2 large eggs, separated
- 1 teaspoon vanilla extract
- 1/4 cup whole milk
Dry ingredients:
- 1/2 cup all-purpose flour
- 1/4 cup granulated sugar
- 1/2 teaspoon baking powder
- 1 pinch salt
Topping:
- Powdered sugar
Instructions
- Heat your oven to 325°F (160°C) and line a muffin tin with 12 cupcake liners.
- In a large bowl, beat together 8 oz softened cream cheese and ¼ cup granulated sugar with an electric mixer until smooth and creamy.
- Pour ¼ cup whole milk into your mixture, then add 2 egg yolks one at a time, followed by 1 tsp vanilla extract, mixing until everything combines.
- Sift ½ cup all-purpose flour, ½ tsp baking powder, and a pinch of salt into a separate bowl.
- Fold your dry ingredients into the wet mixture until no lumps remain.
- In a clean, dry bowl, whip the 2 egg whites until stiff peaks form when you lift your beaters.
- Gently fold your whipped egg whites into the batter using a spatula, being careful to keep the air you’ve worked in.
- Spoon your batter into each liner until three-quarters full.
- Bake at 325°F (160°C) for 25 to 30 minutes until the tops turn light golden and spring back when you touch them lightly.
- Let your cupcakes rest in the tin for 10 minutes at room temperature after removing from the oven.
- Transfer each cupcake to a wire rack and cool completely.
- Once cool, dust powdered sugar over the tops if you prefer an extra touch.
Notes
- Softening your cream cheese at room temperature for about 30 minutes makes mixing smoother and prevents lumps that can affect your cupcakes’ texture.
- When folding in the egg whites, use a spatula and work gently in circular motions to keep the airy mixture intact, which is what gives these cupcakes their signature fluffy structure.
- These cupcakes are naturally less sweet than typical cupcakes, so they pair beautifully with fresh berries, a light glaze, or just a dusting of powdered sugar rather than heavy frosting.
- For a dairy-free version, substitute the cream cheese with silken tofu blended until smooth and use plant-based milk instead of regular milk, though the texture will be slightly less rich.
- Prep Time: 20 minutes
- Cook Time: 25-30 minutes
- Category: Cupcakes
- Method: Baking
- Cuisine: Japanese
Nutrition
- Serving Size: 6
- Calories: 158 kcal
- Sugar: 6 g
- Sodium: 92 mg
- Fat: 10 g
- Saturated Fat: 6 g
- Unsaturated Fat: 3 g
- Trans Fat: 0.2 g
- Carbohydrates: 12 g
- Fiber: 0.3 g
- Protein: 5 g
- Cholesterol: 75 mg
Wanda Hamilton
Founder and Recipe Editor
Expertise
Bold Weeknight Cooking, Pantry Powered Meals, Sauce and Spice Building, Seasonal Ingredient Swaps, Recipe Testing and Troubleshooting, Food Photography and Simple Styling
Education
- Degree: Associate of Applied Science in Culinary Arts
- Focus: Core culinary skills built through practical kitchen training, with a strong foundation for real service work.
National Registry of Food Safety Professionals (NRFSP)Wanda Hamilton, Founder and Recipe Editor, cooks from Savannah, GA with a “big flavor, low fuss” mindset. Trained in Culinary Arts at Bellingham Technical College and certified in food safety through the NRFSP, she blends professional skill with everyday practicality. Wanda is known for smart finishing touches that elevate a dish in minutes, along with rigorous testing standards and clear visual cues that remove the guesswork. Her goal is simple: make every meal feel like a small but satisfying upgrade to your day.